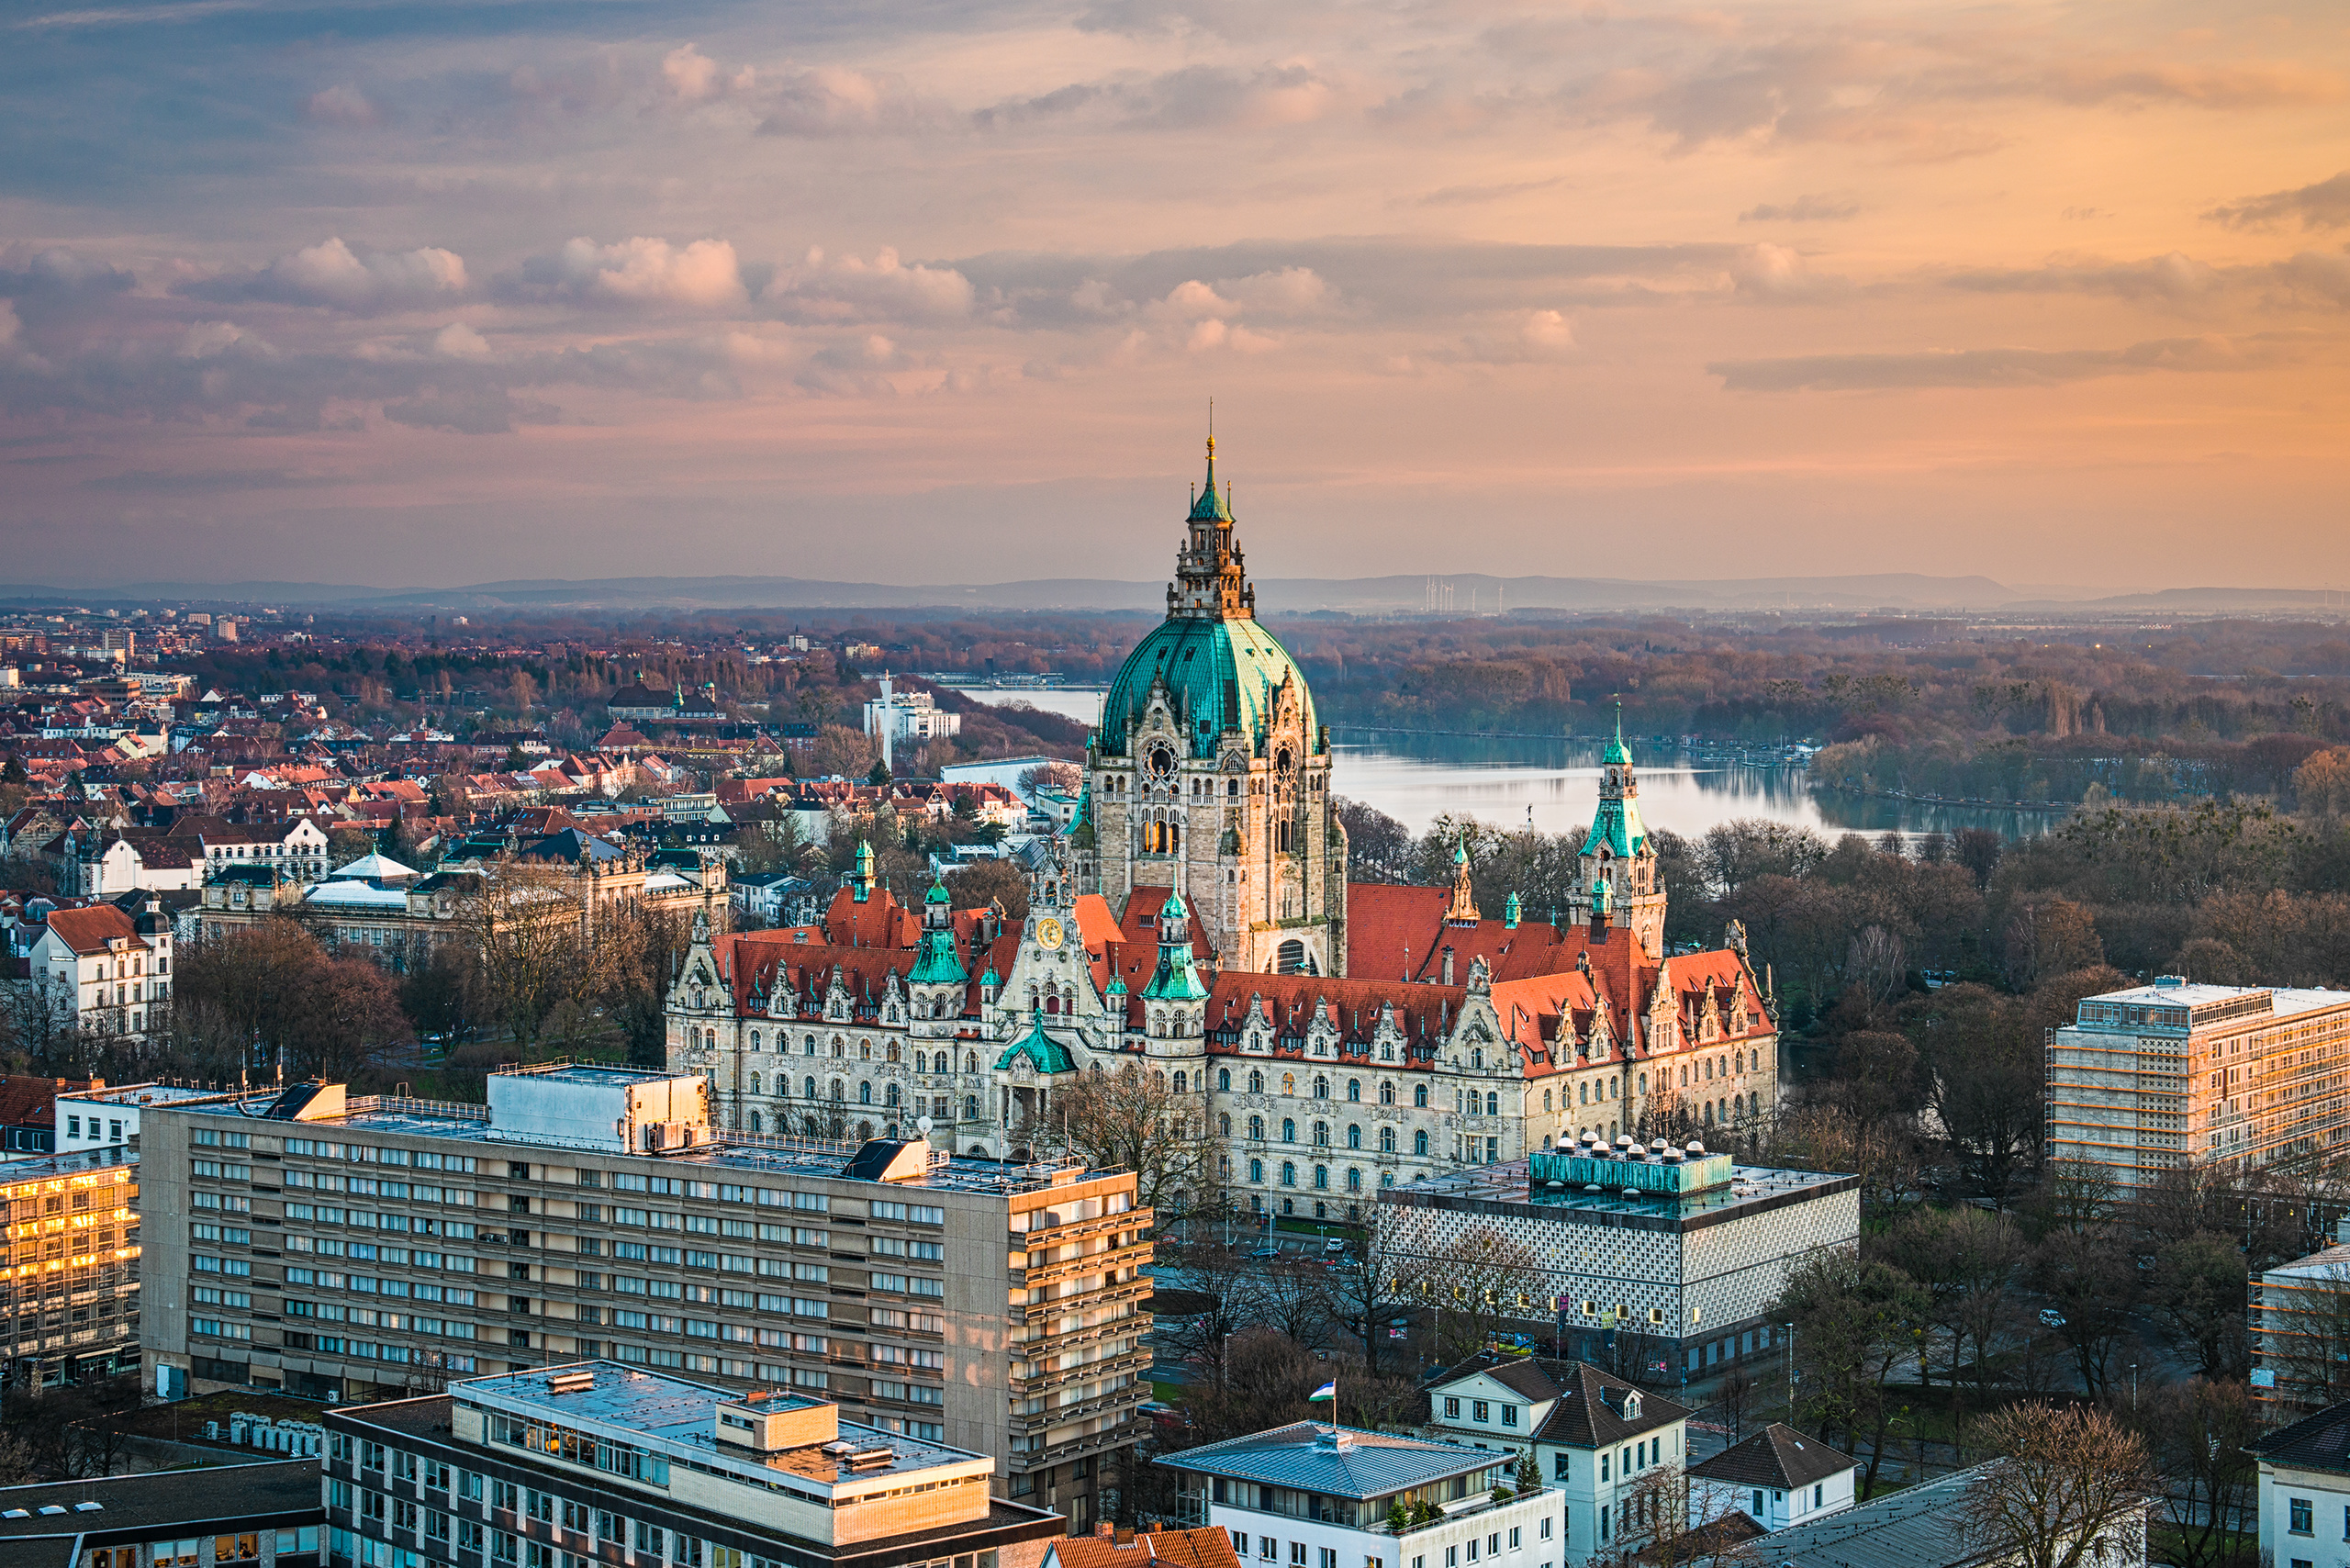
Facebook posts with an image attached to it will reach up to 2.3x more engagement, than the one without any additional content. This rule doesn’t affect Facebook only.
Due to BuzzSumo it’s important to maintain right picture to text ratio. Putting a visual object after every 75-100 words double your chance of having the article reposted. This “perfect ratio” is really a strict range – even a dozen words more or less than recommended can drastically lower the chance that someone will read the whole text.

The best way to take advantage of better posts coverage when using images is to schedule every tweet and status update with a quality picture. While postfity can manage the timing and scheduling, you need to worry about the content.
There are three main steps that should be followed when preparing visual posts:
1. Choose
2. Edit
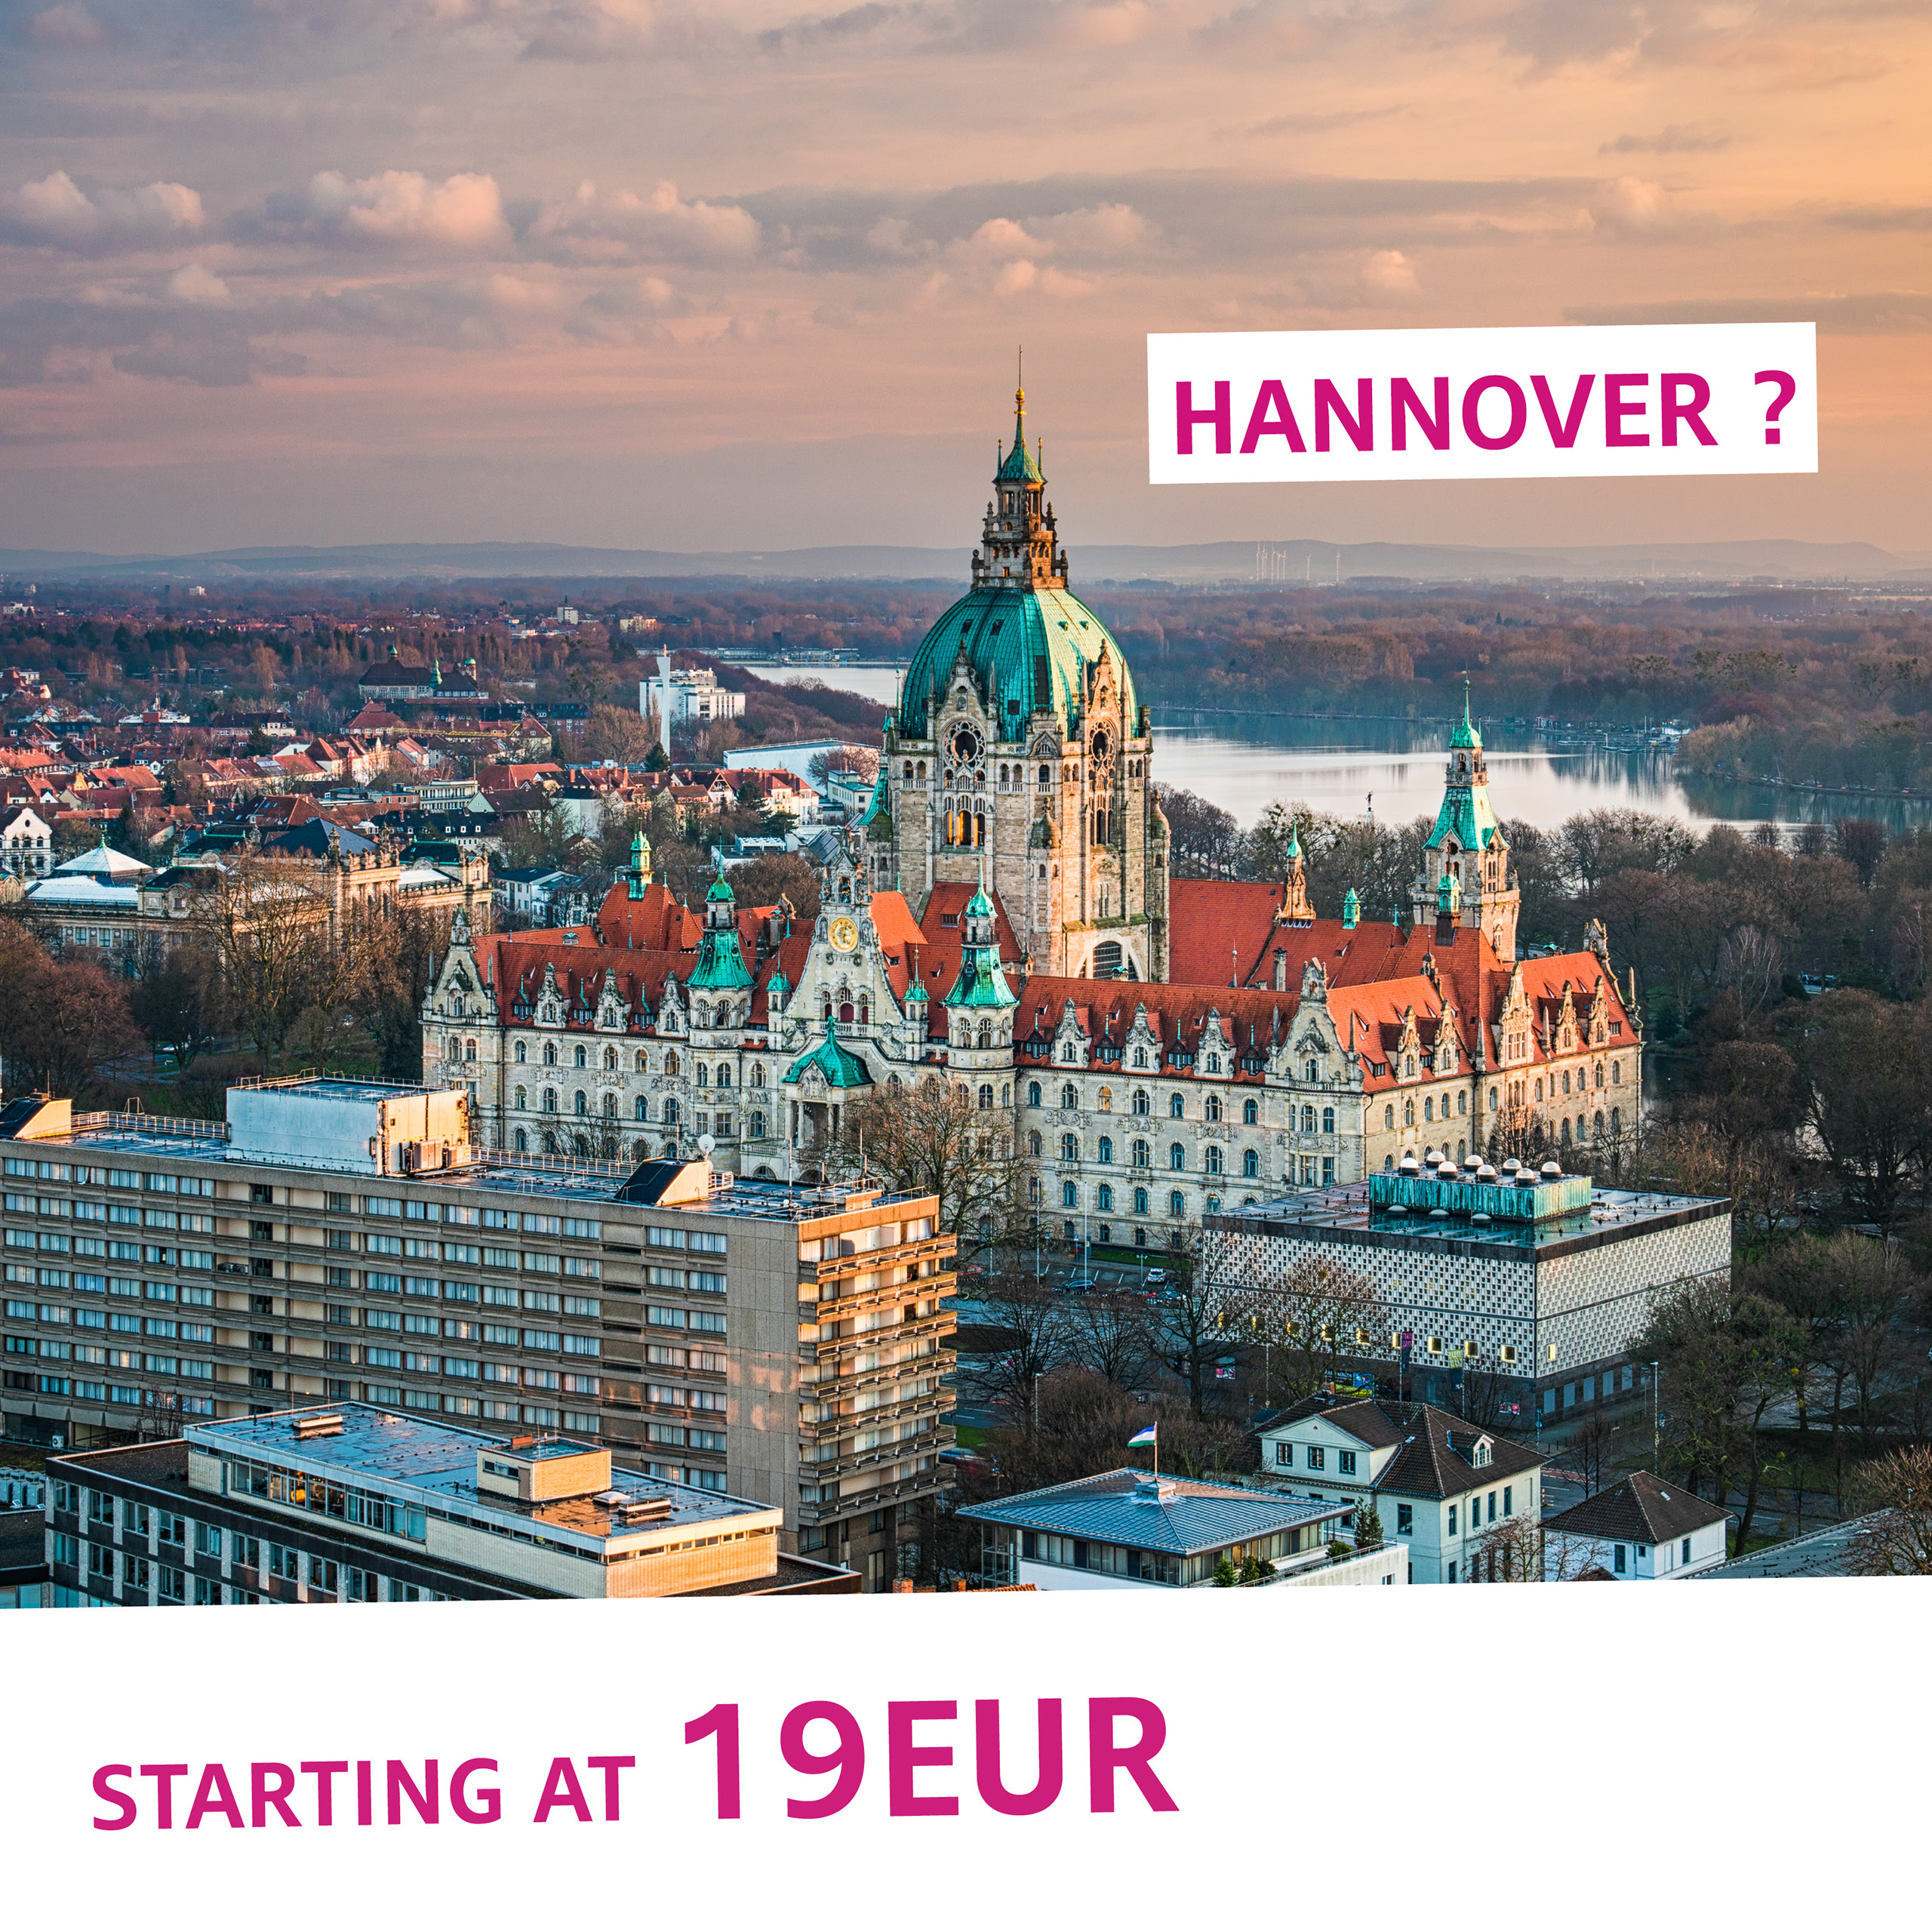
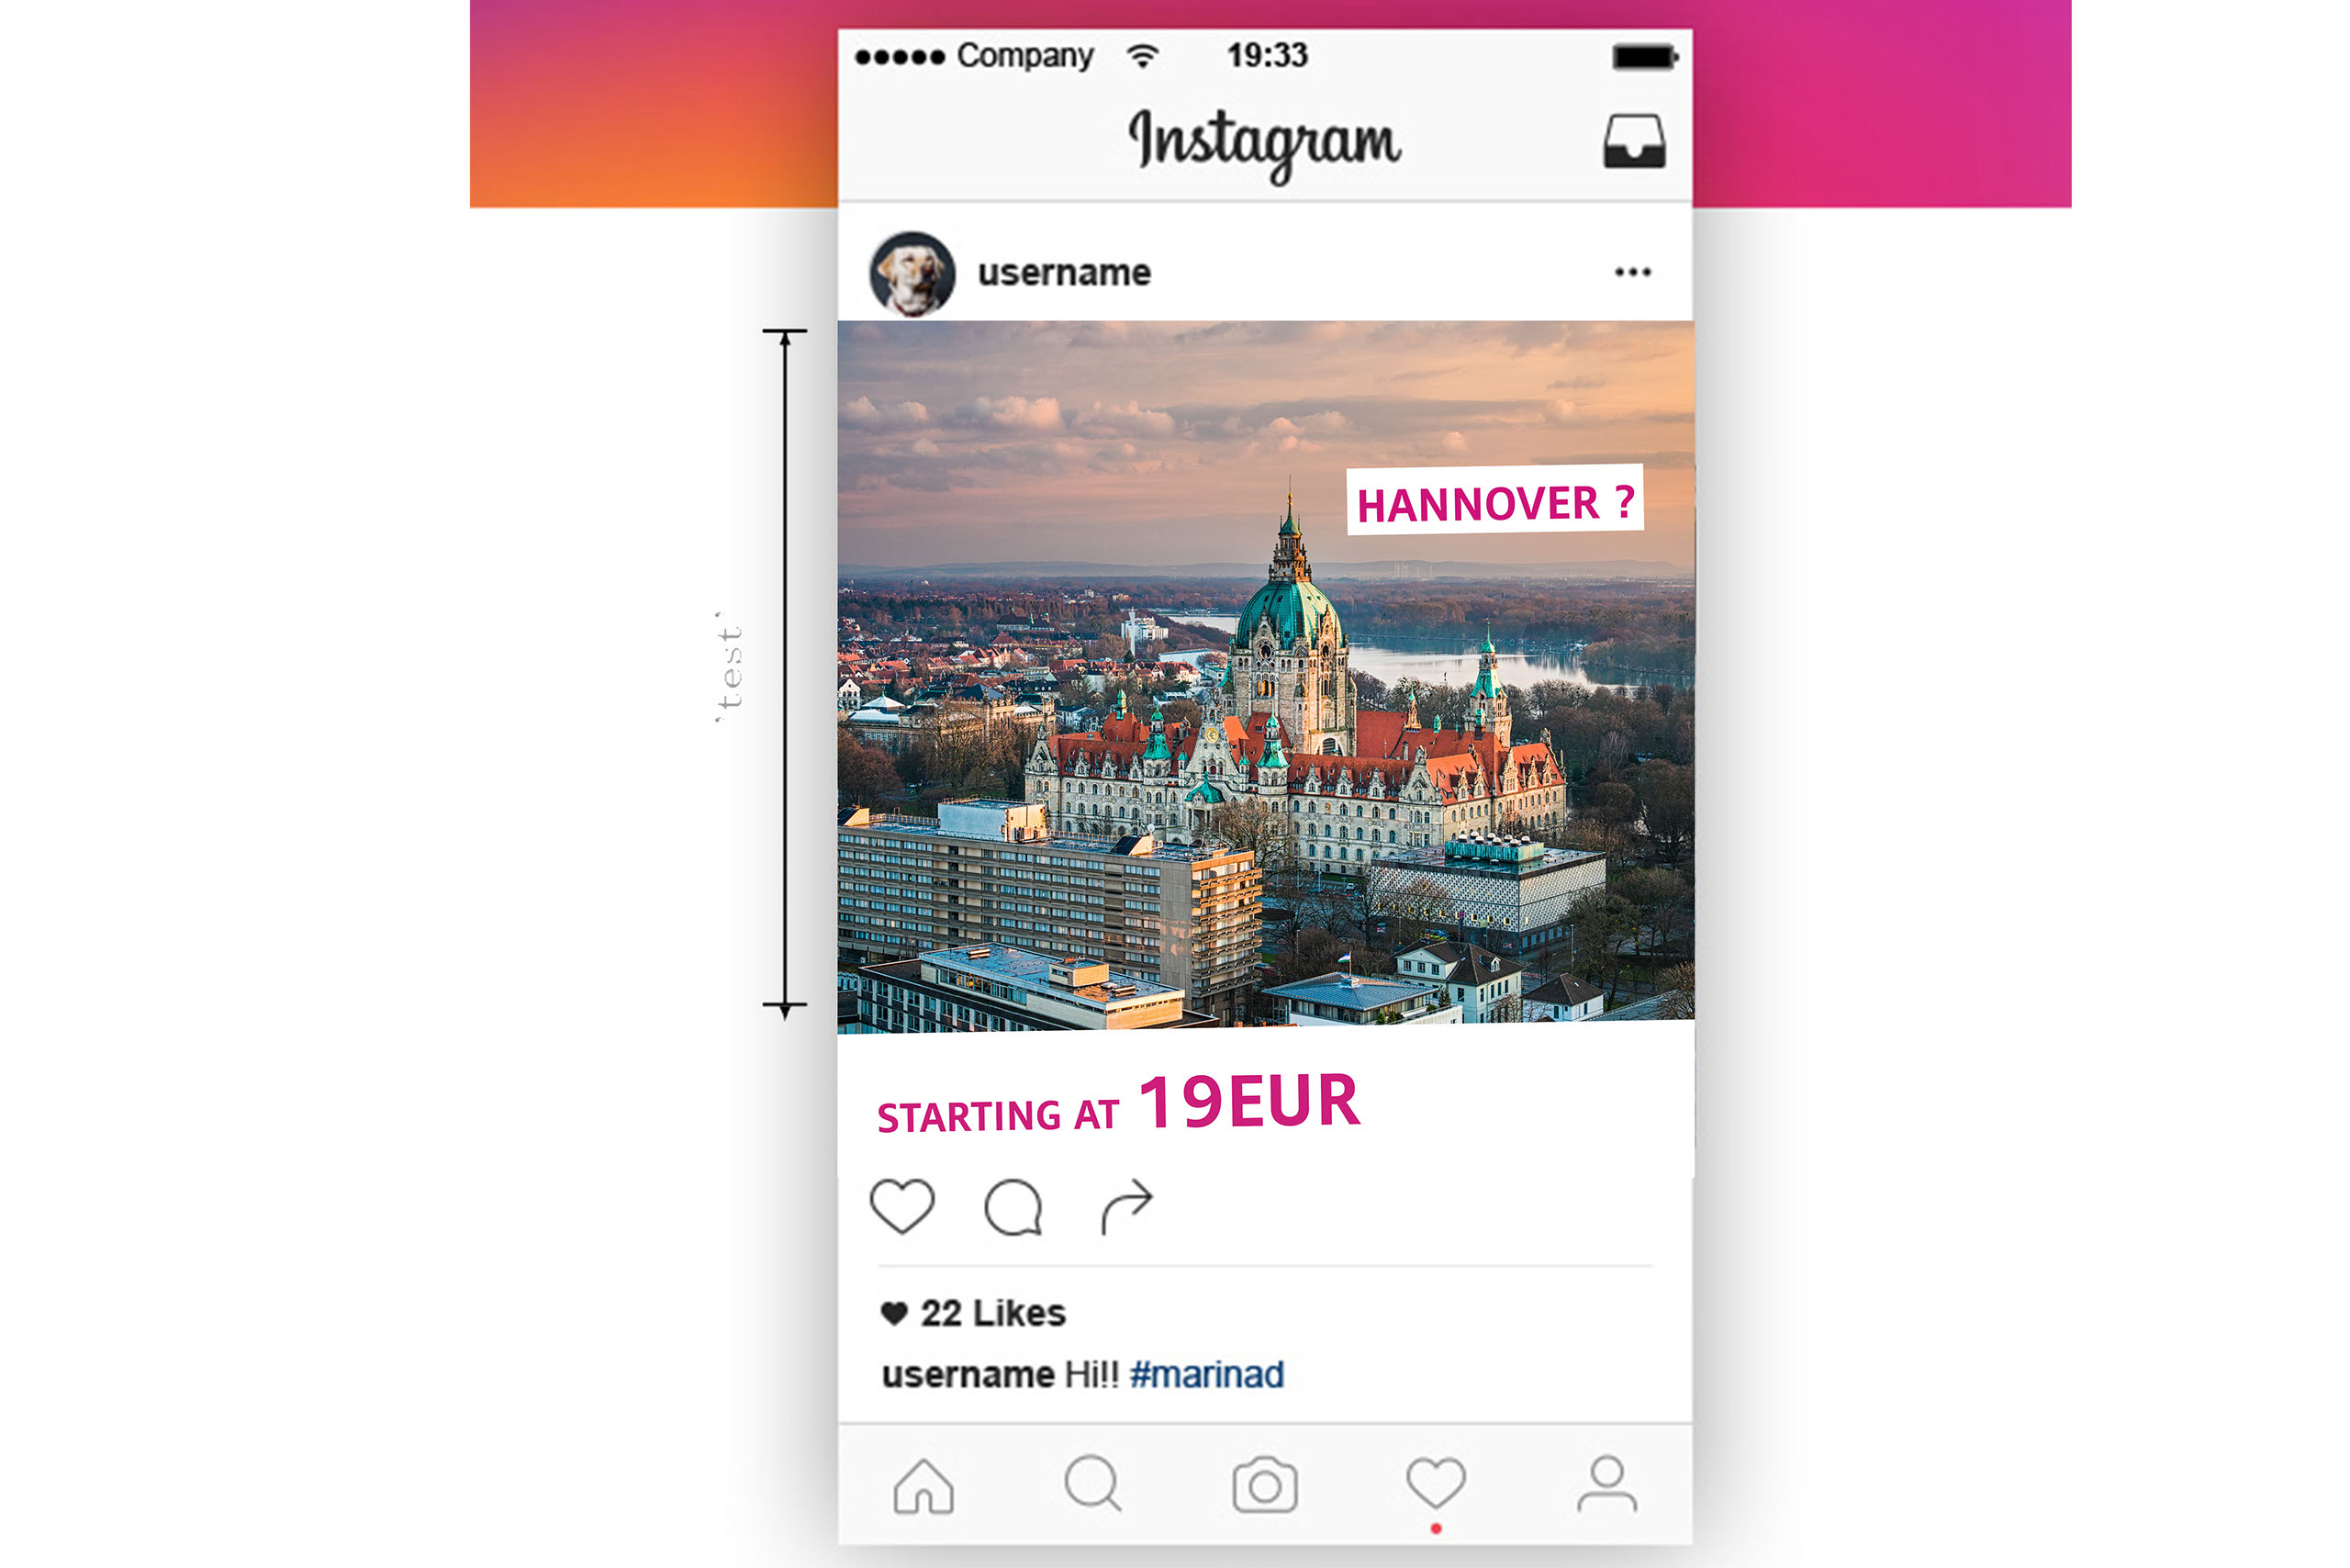
3. Save it in right format
If you’re a person who likes to have everything in one place, Canva, in my opinion is one of the simplest and most powerful tool in which you can make an entire post in a matter of seconds! On one platform you can choose from various of free stock imagery, add multiple styles of captions, boxes, emojis etc. It also provides you with tools to save it using desired preset designed for nearly every social media site.
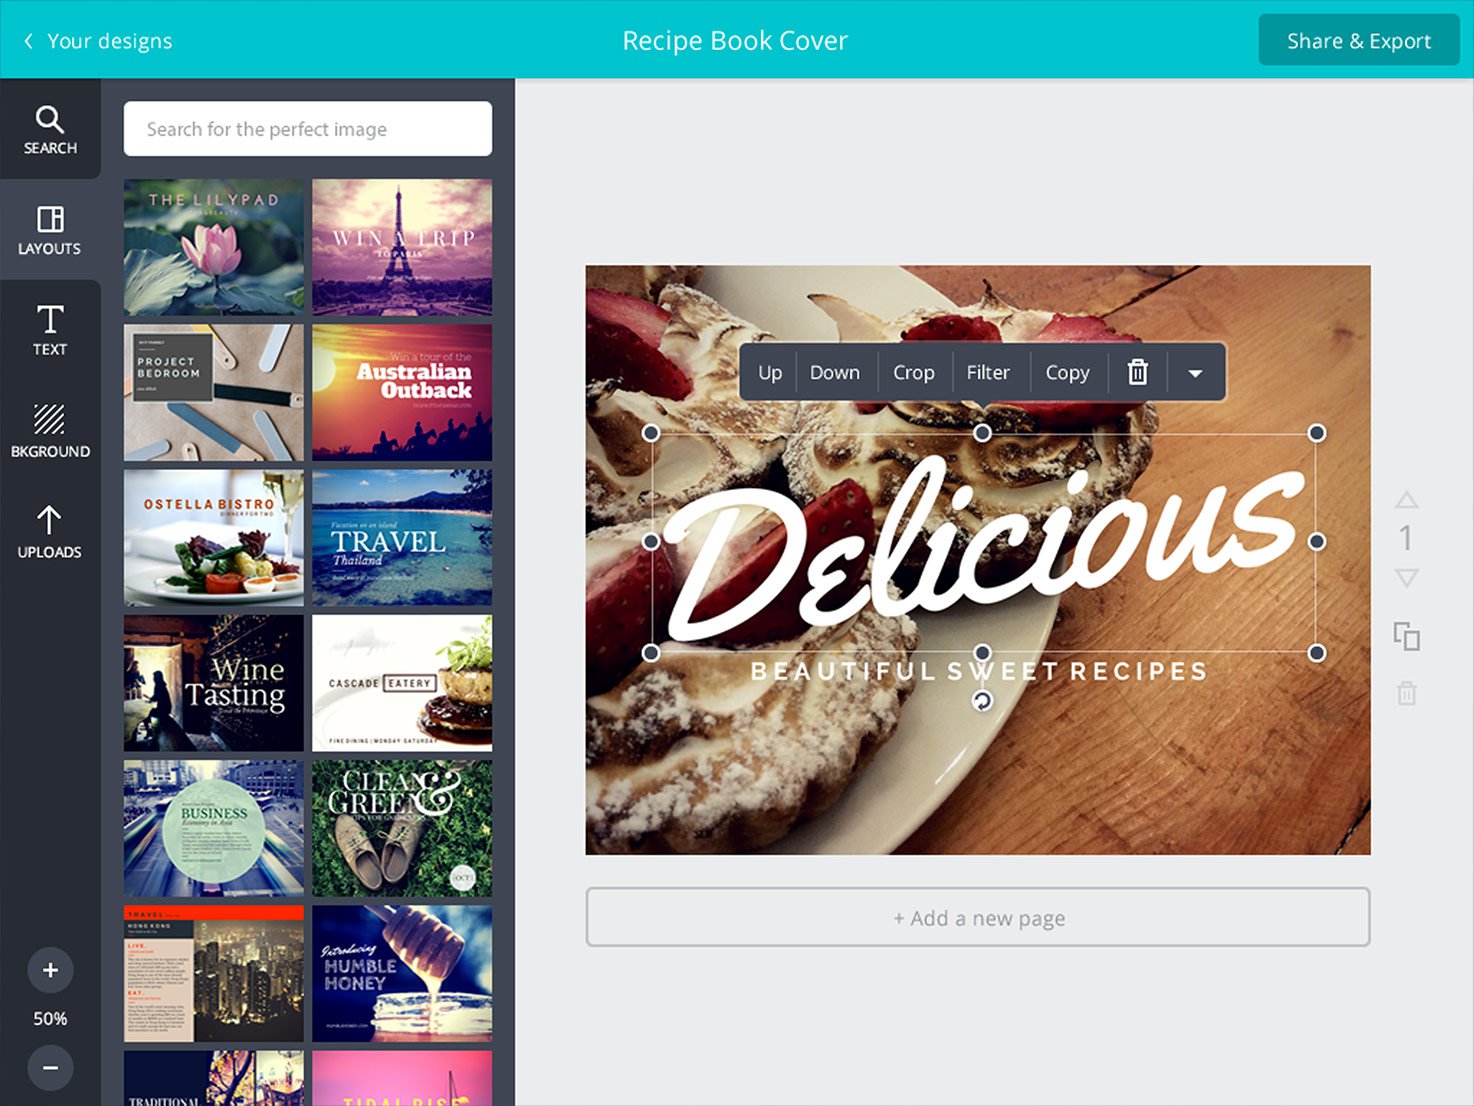
If that just sound too easy and limited – just follow the steps to make one yourself, and have the freedom to design it!
1. Choose a picture
Choosing a right picture is the place where We start our process. Nowadays it’s easy to find a picture of literally everything. Therefore
Most important thing is quality. Pictures in high resolution with good trimming will make your site or product look professional.
However, it’s important to remember that the fact that the photo can be found via search engine doesn’t always mean that it can be used. Moreover, you can’t use the majority of photos found via google images due to copyrights.
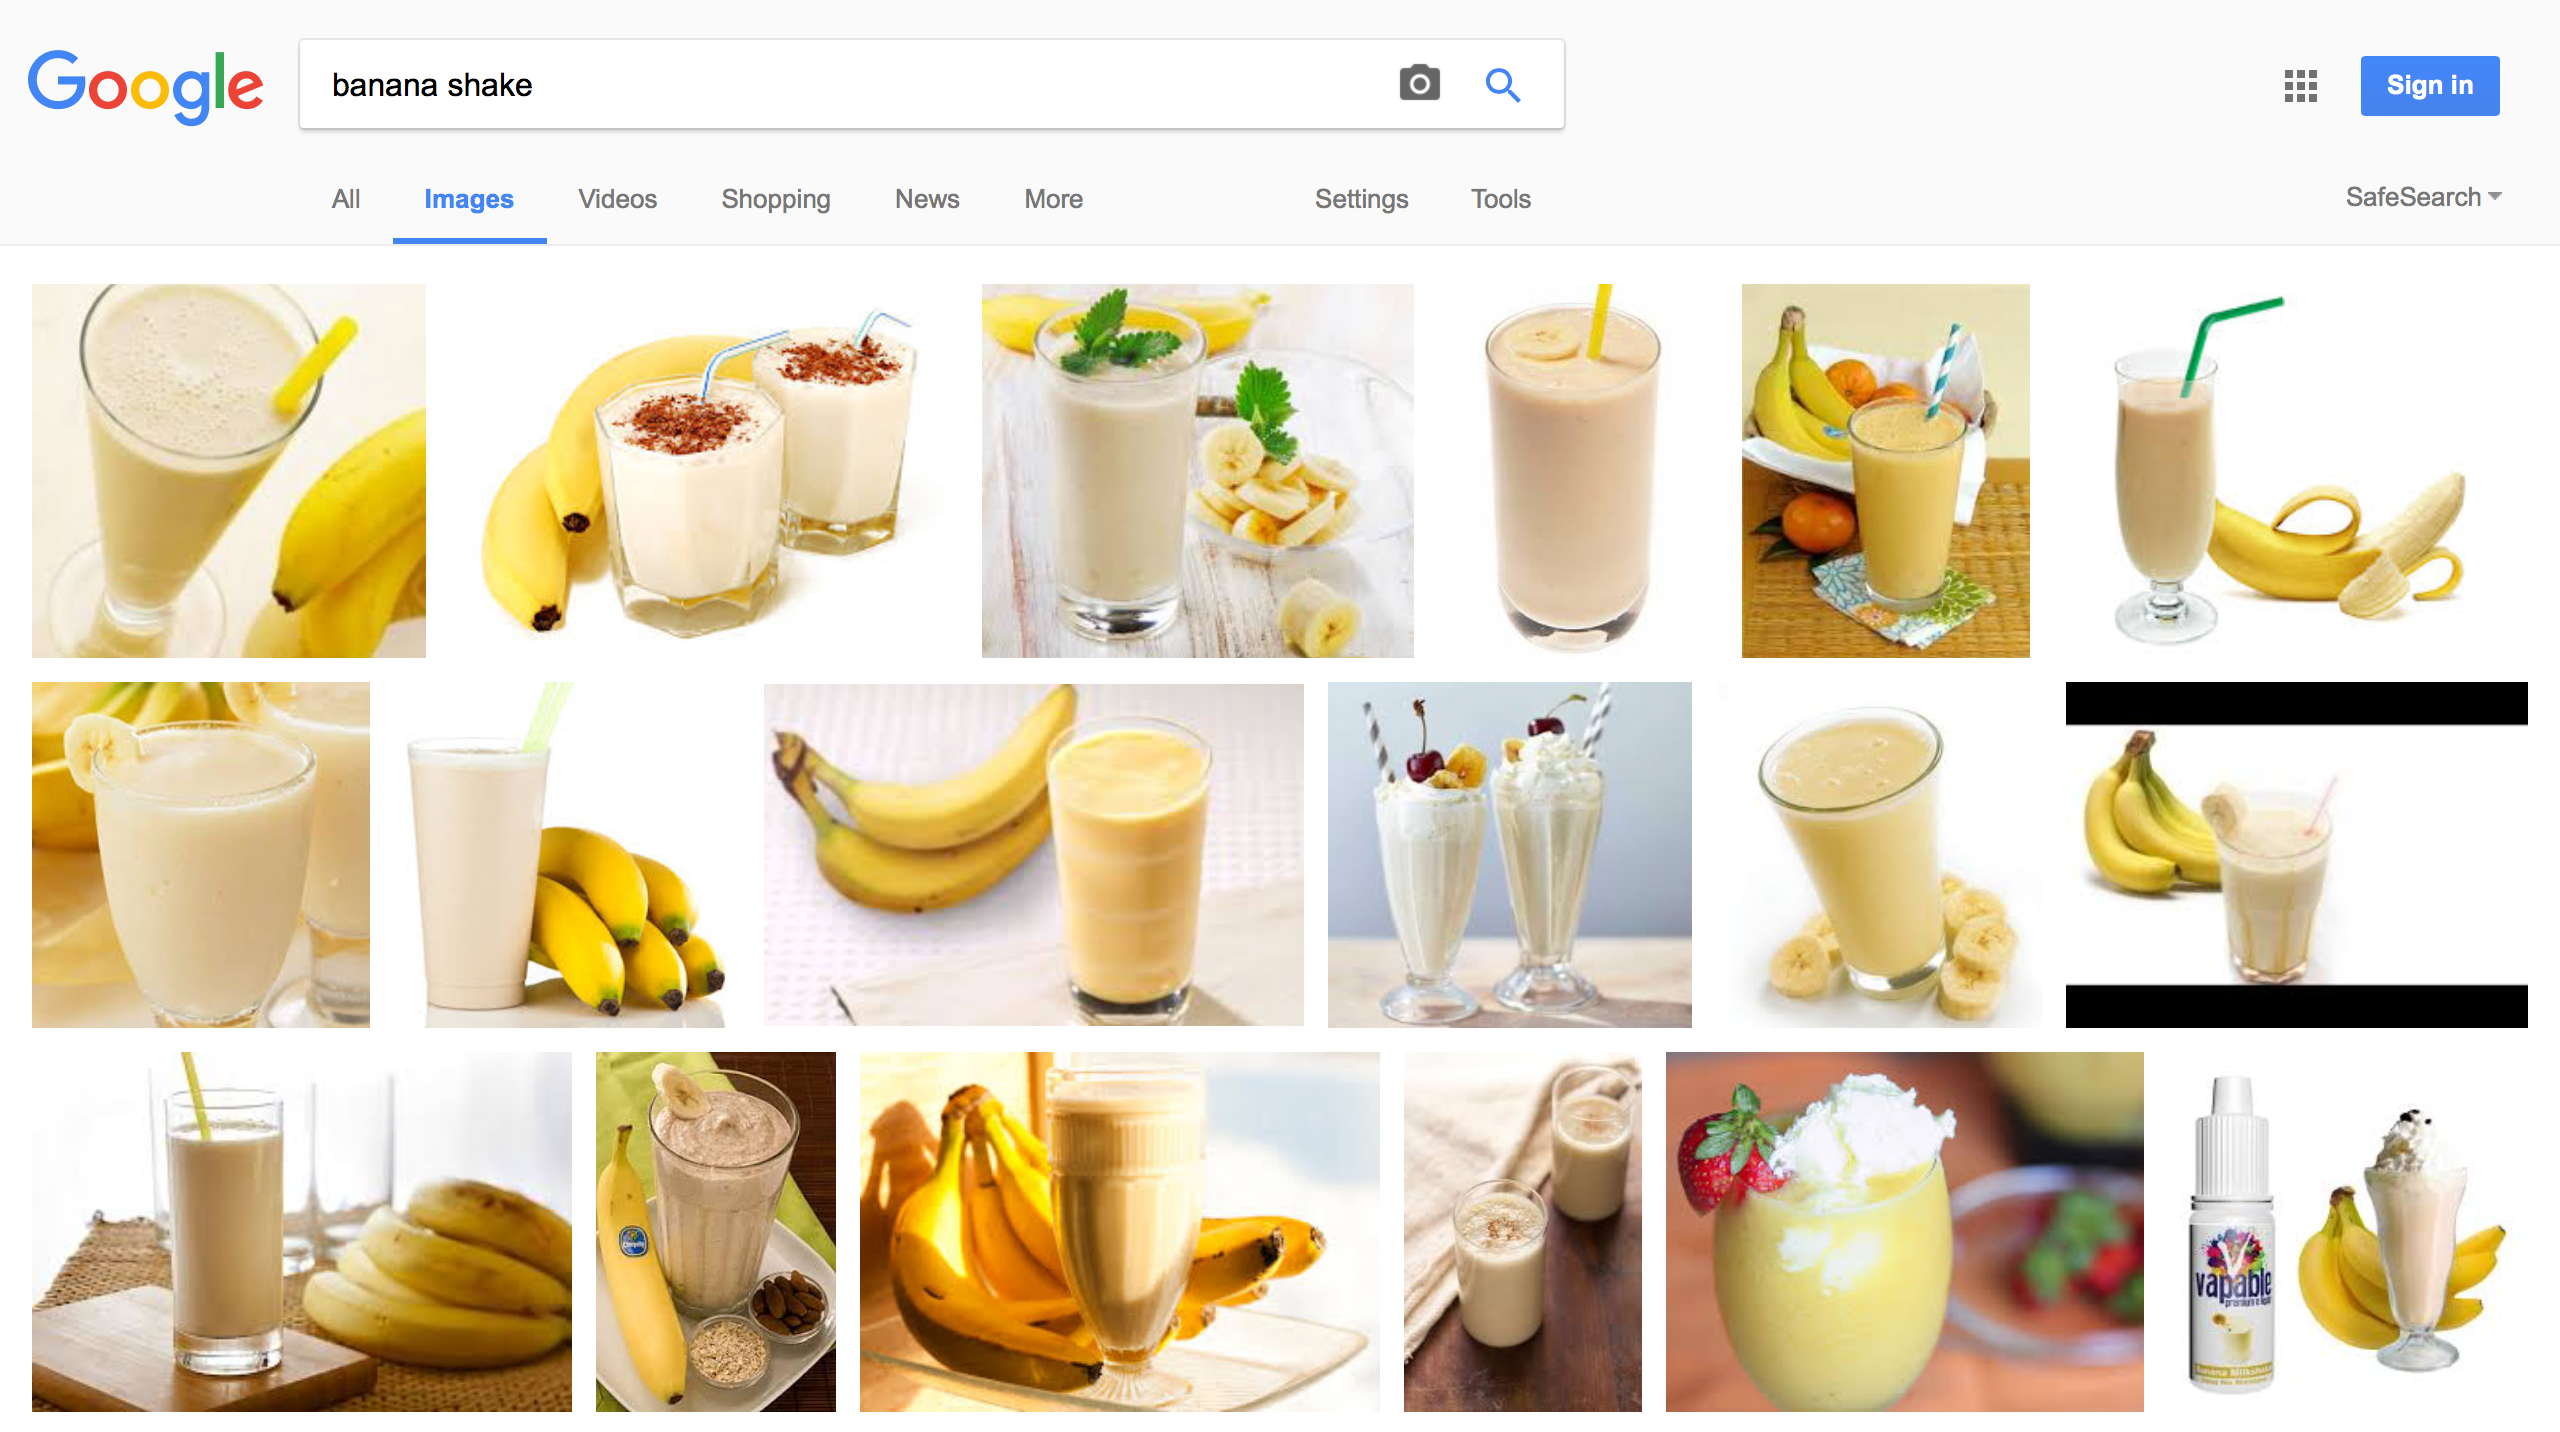
Here We can see search results for banana flavor shake. Let’s say you want to schedule a post for Friday morning, asking your audience how do they feel about starting a day with a nutritious drink.
On the results page, there are plenty of quality and professional photos which can be used to beautify the message. How to know which one can be reused?
When at the results page, click on “Tools” button and from the drop-down menu “Usage Rights” choose option “Labeled for reuse”
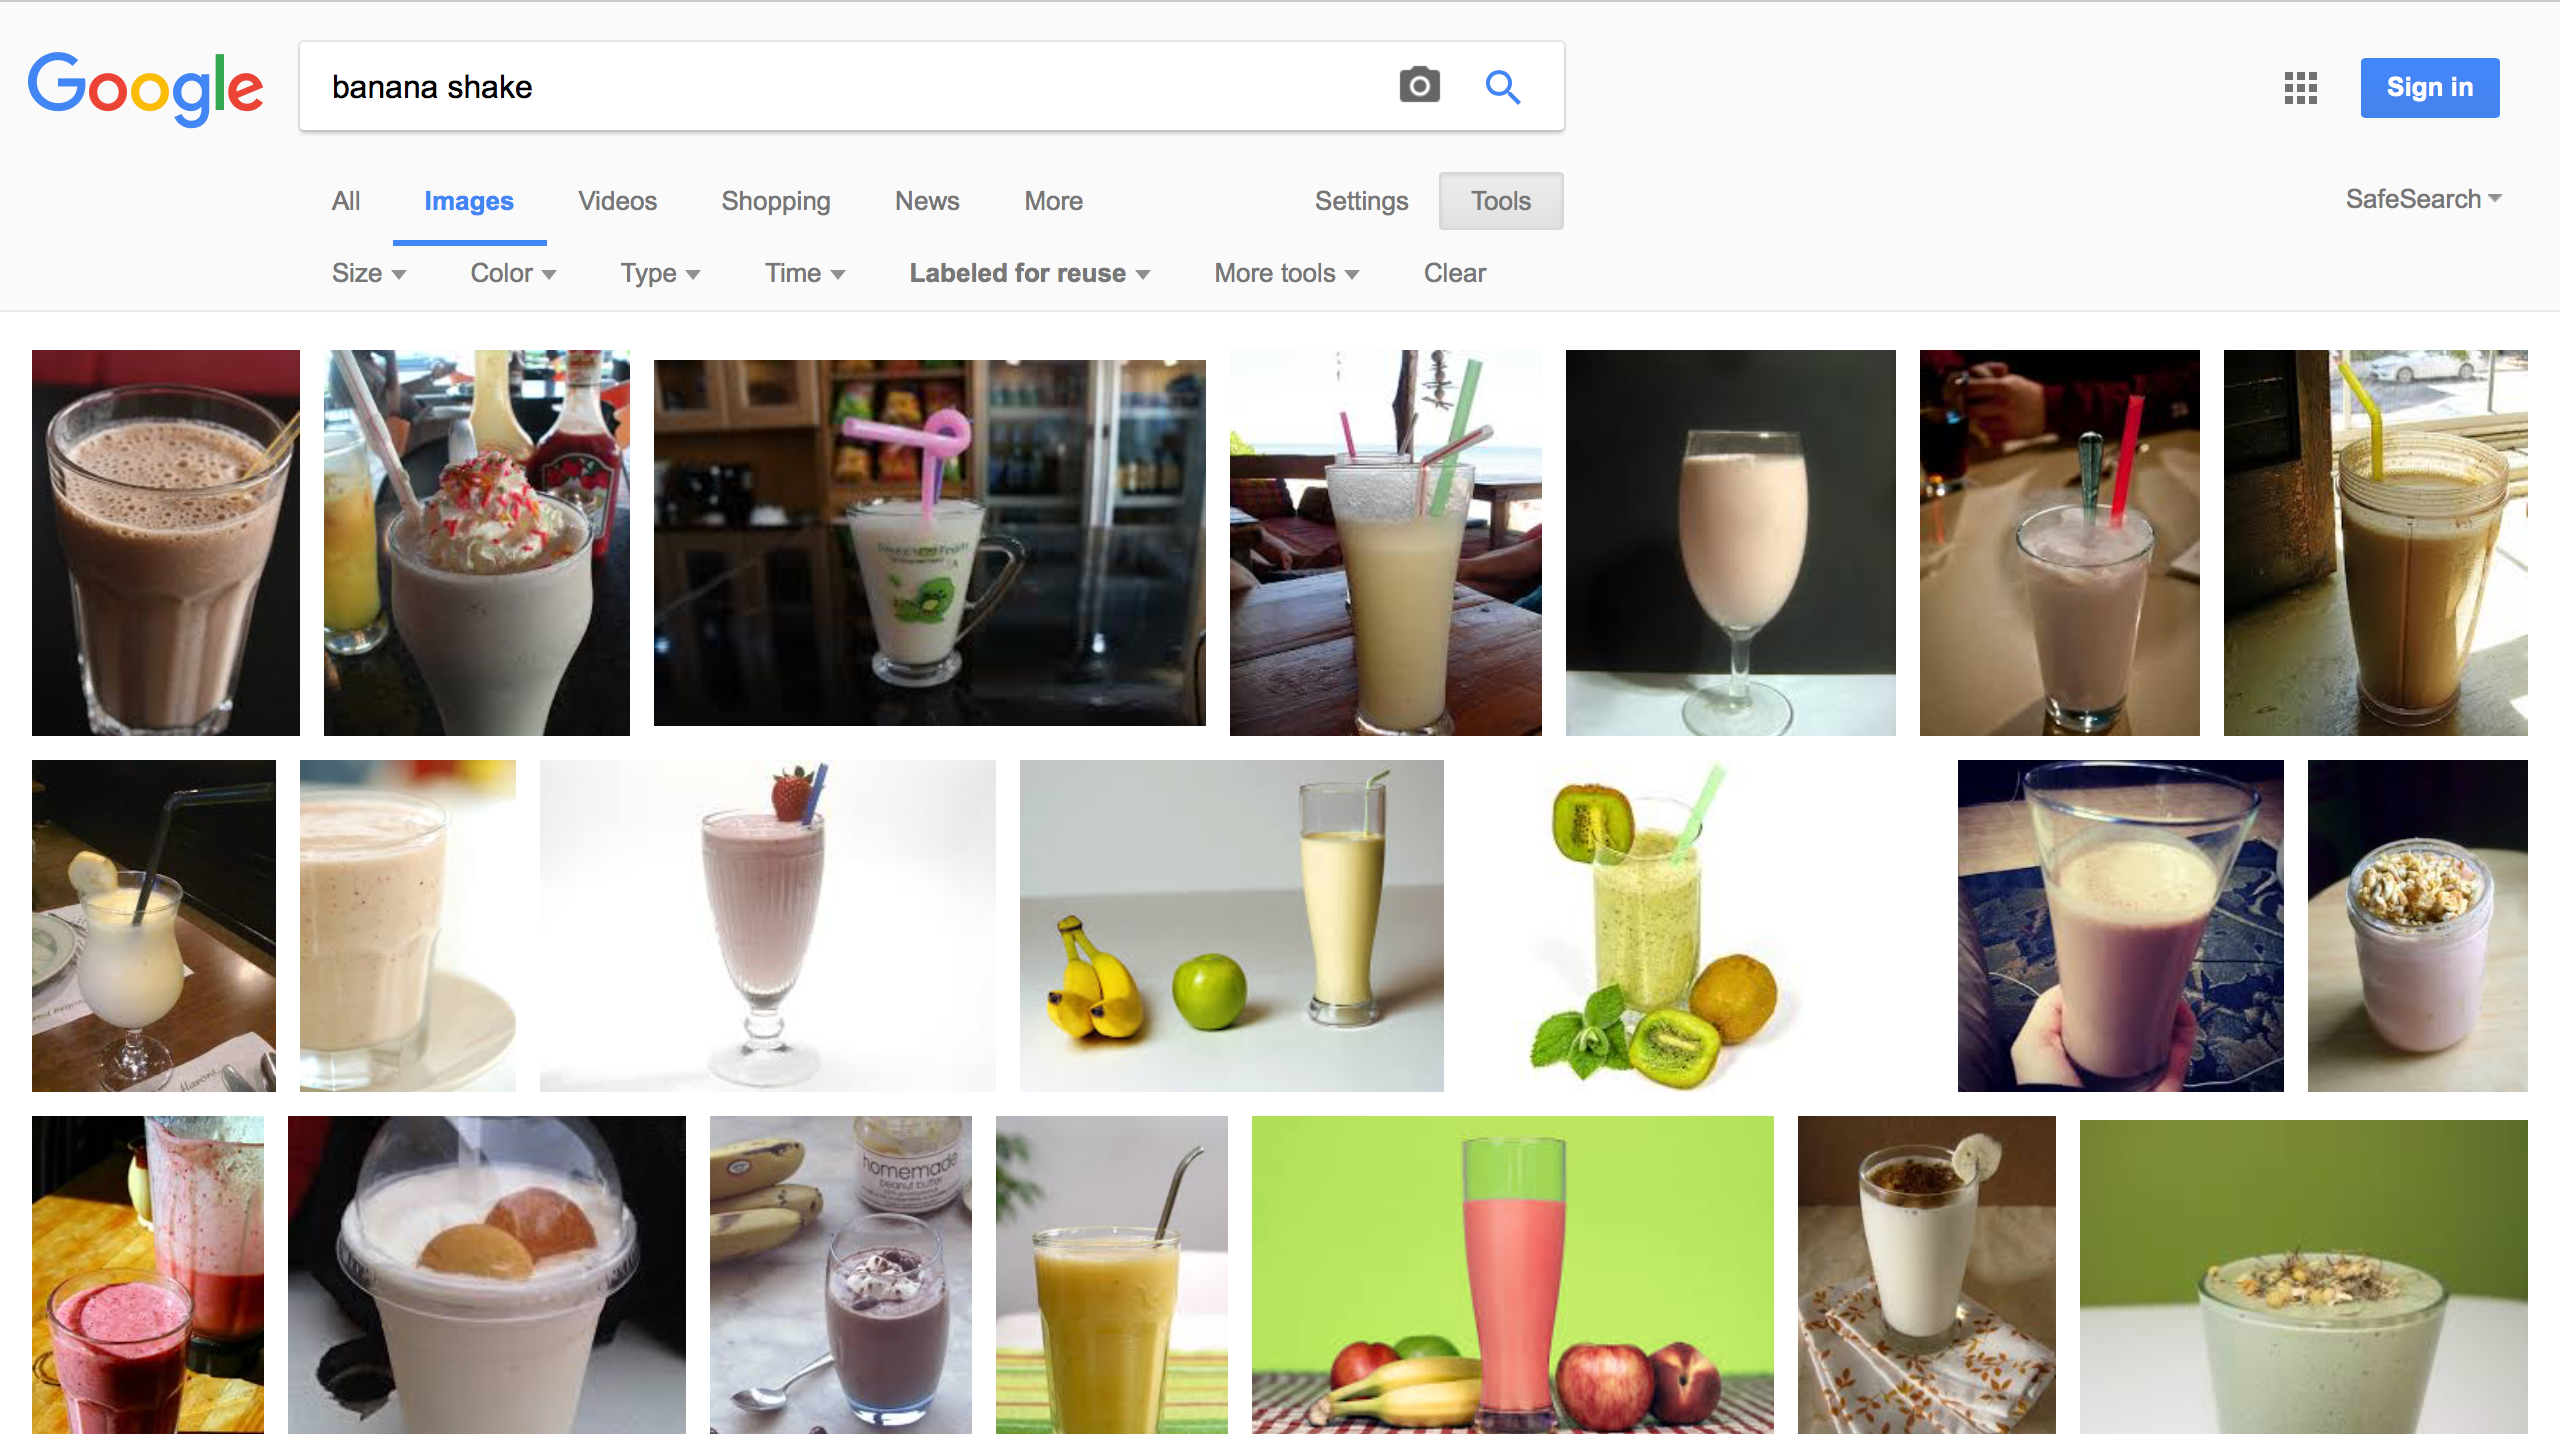
The results are completely different and it’s much harder to choose a picture from this set. So how it’s possible that many blogs or Facebook pages use beautiful photos, that cannot be found in “Labeled for Reuse” section? Are Their owners violating rights? No.
That’s where stock image come in hand.
What is it? Basically, stock image is an image that is commercially available. You can use them differently, regarding the license:
- for free without the need to mention the source site
- for free but with caption about site or the author or watermark
- one time payment for desired photo
- subscribe for the monthly plans which gives you certain amount of downloads
Free Stock Images
There are plenty of sites with free downloads – remember to always check on what conditions You can use downloaded pictures.
My favorite free sites are Freepik, StockSnap.io and Pixabay
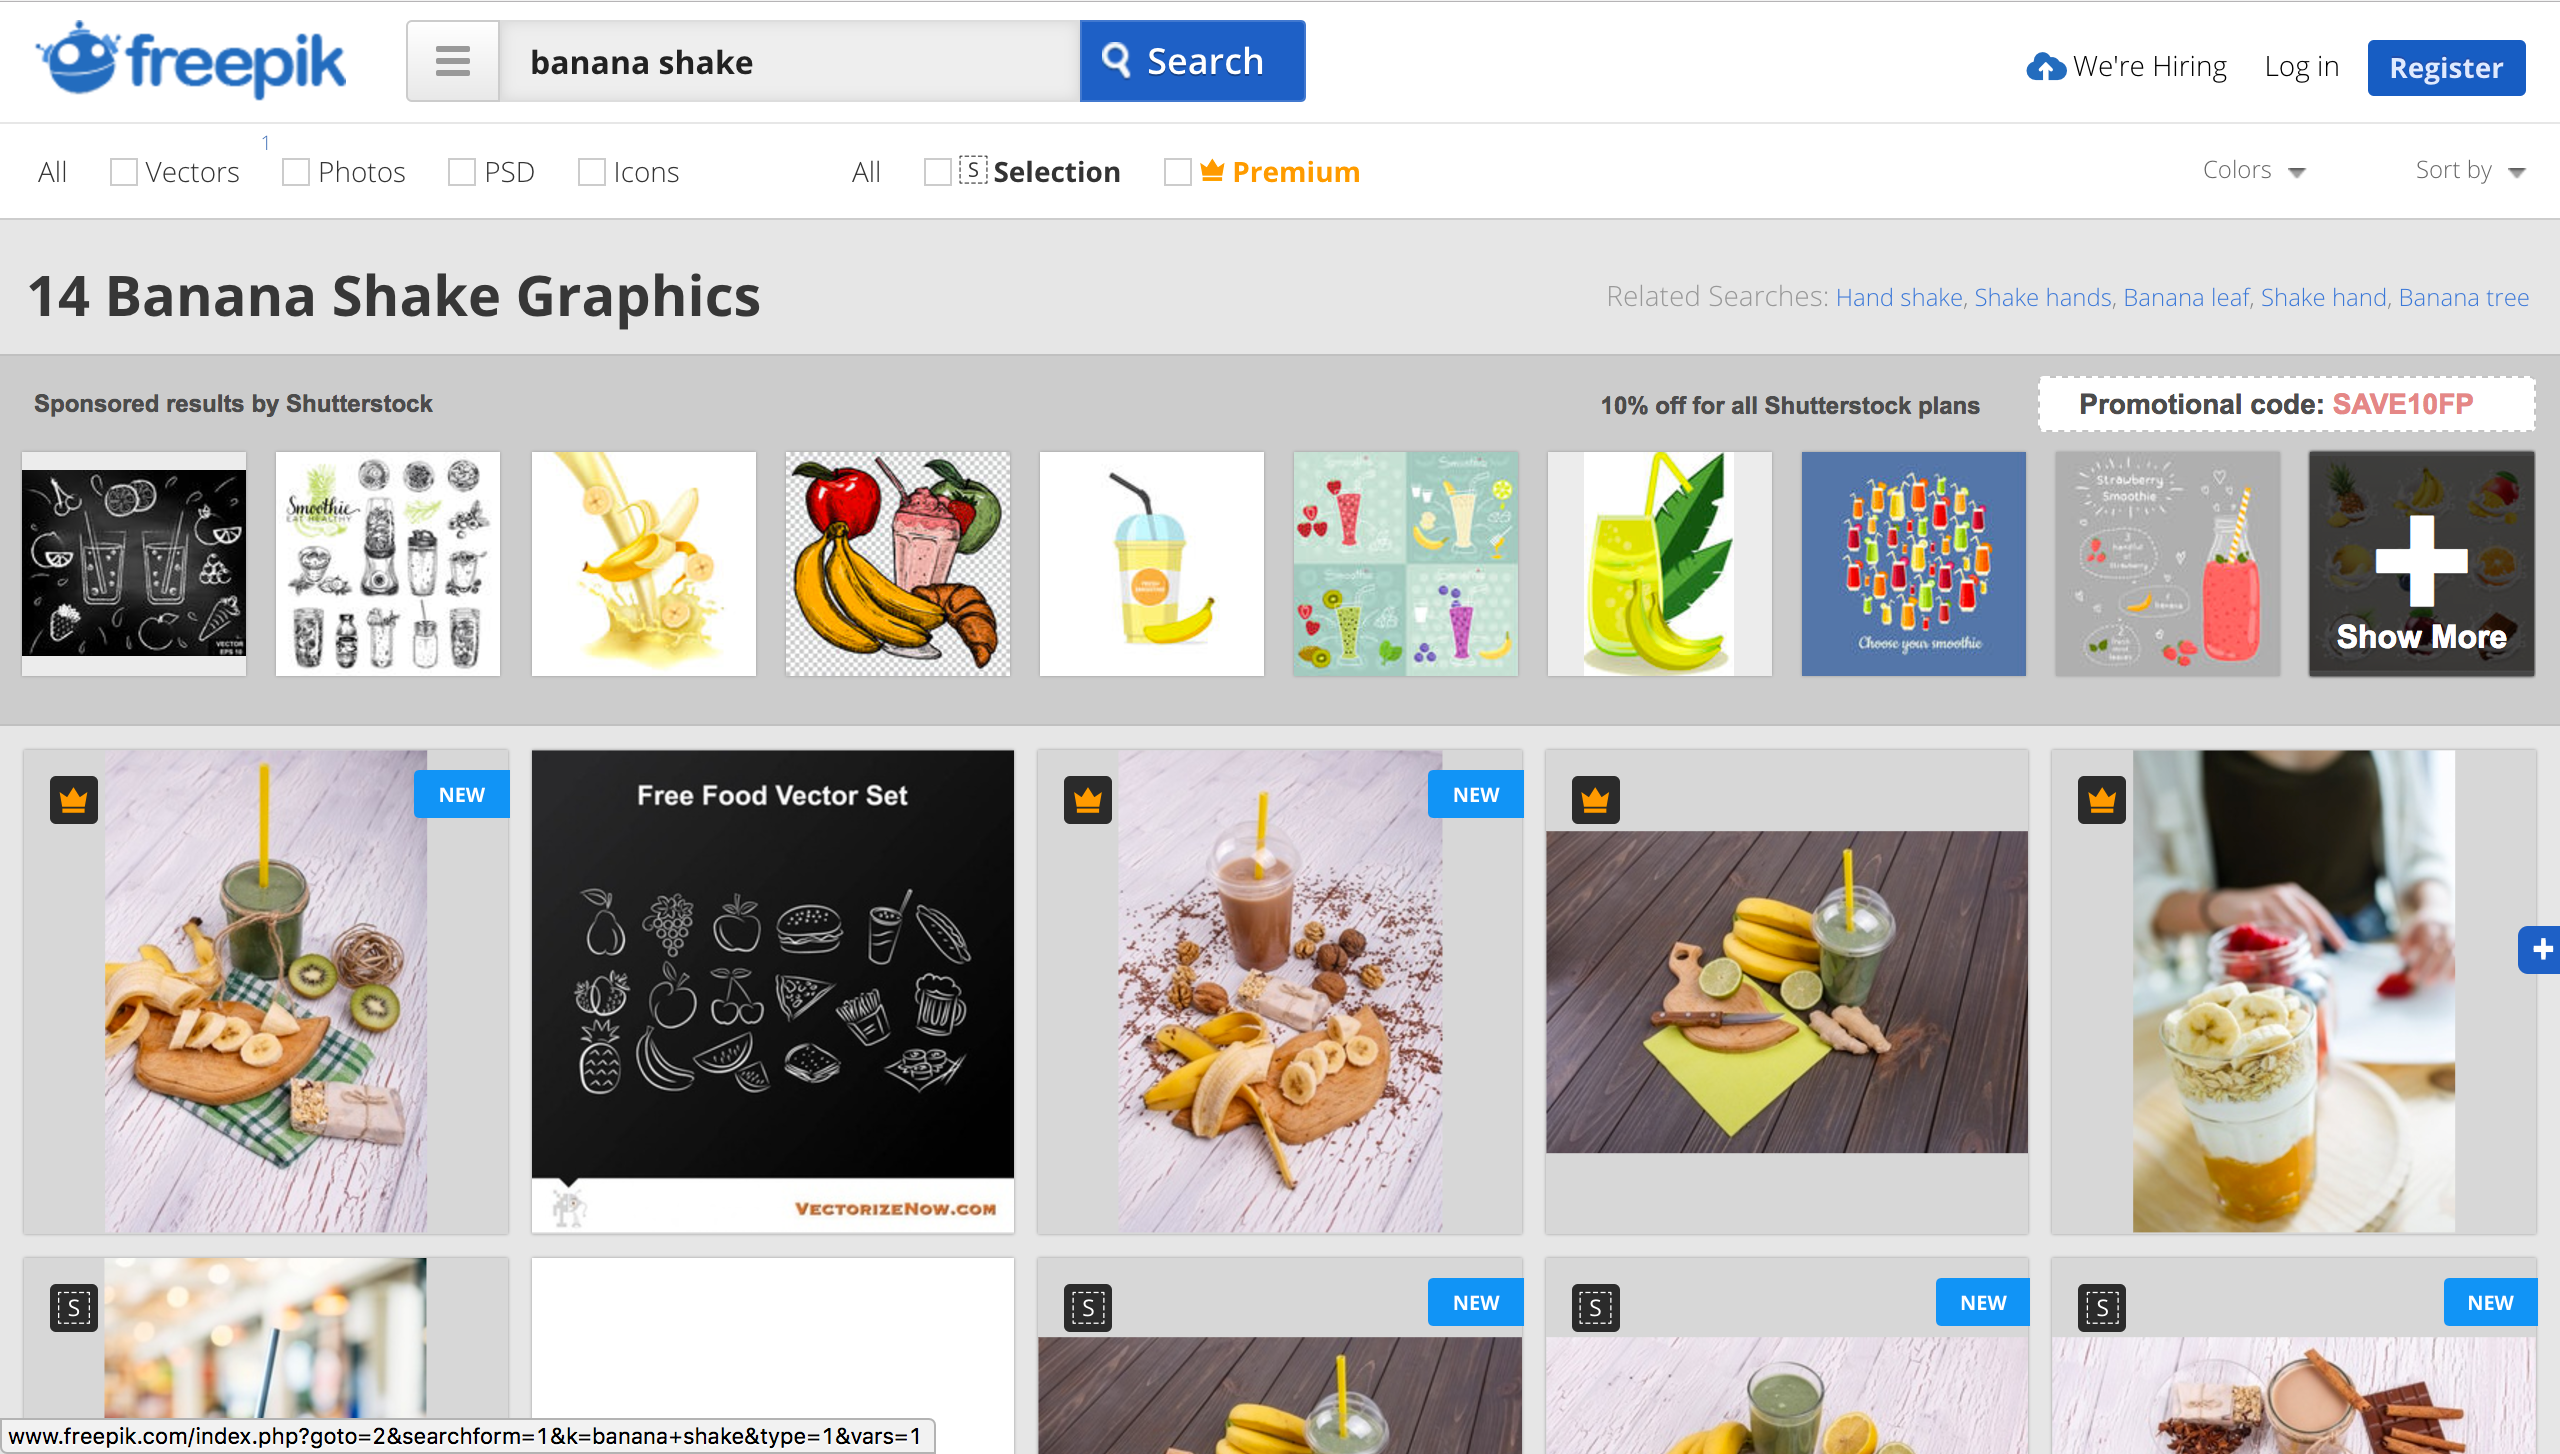
It’s easy to find there quality material, often made by the owners of the site themselves. It gives You the possibility to find professional photo series of one subject, which can be used in the campaign, with no cost!
Paid Stock Images
When You have some budget to spend it’s better to invest in the possibility of choice. Searching for free imagery gives a hundred times fewer results than searching for the paid ones.
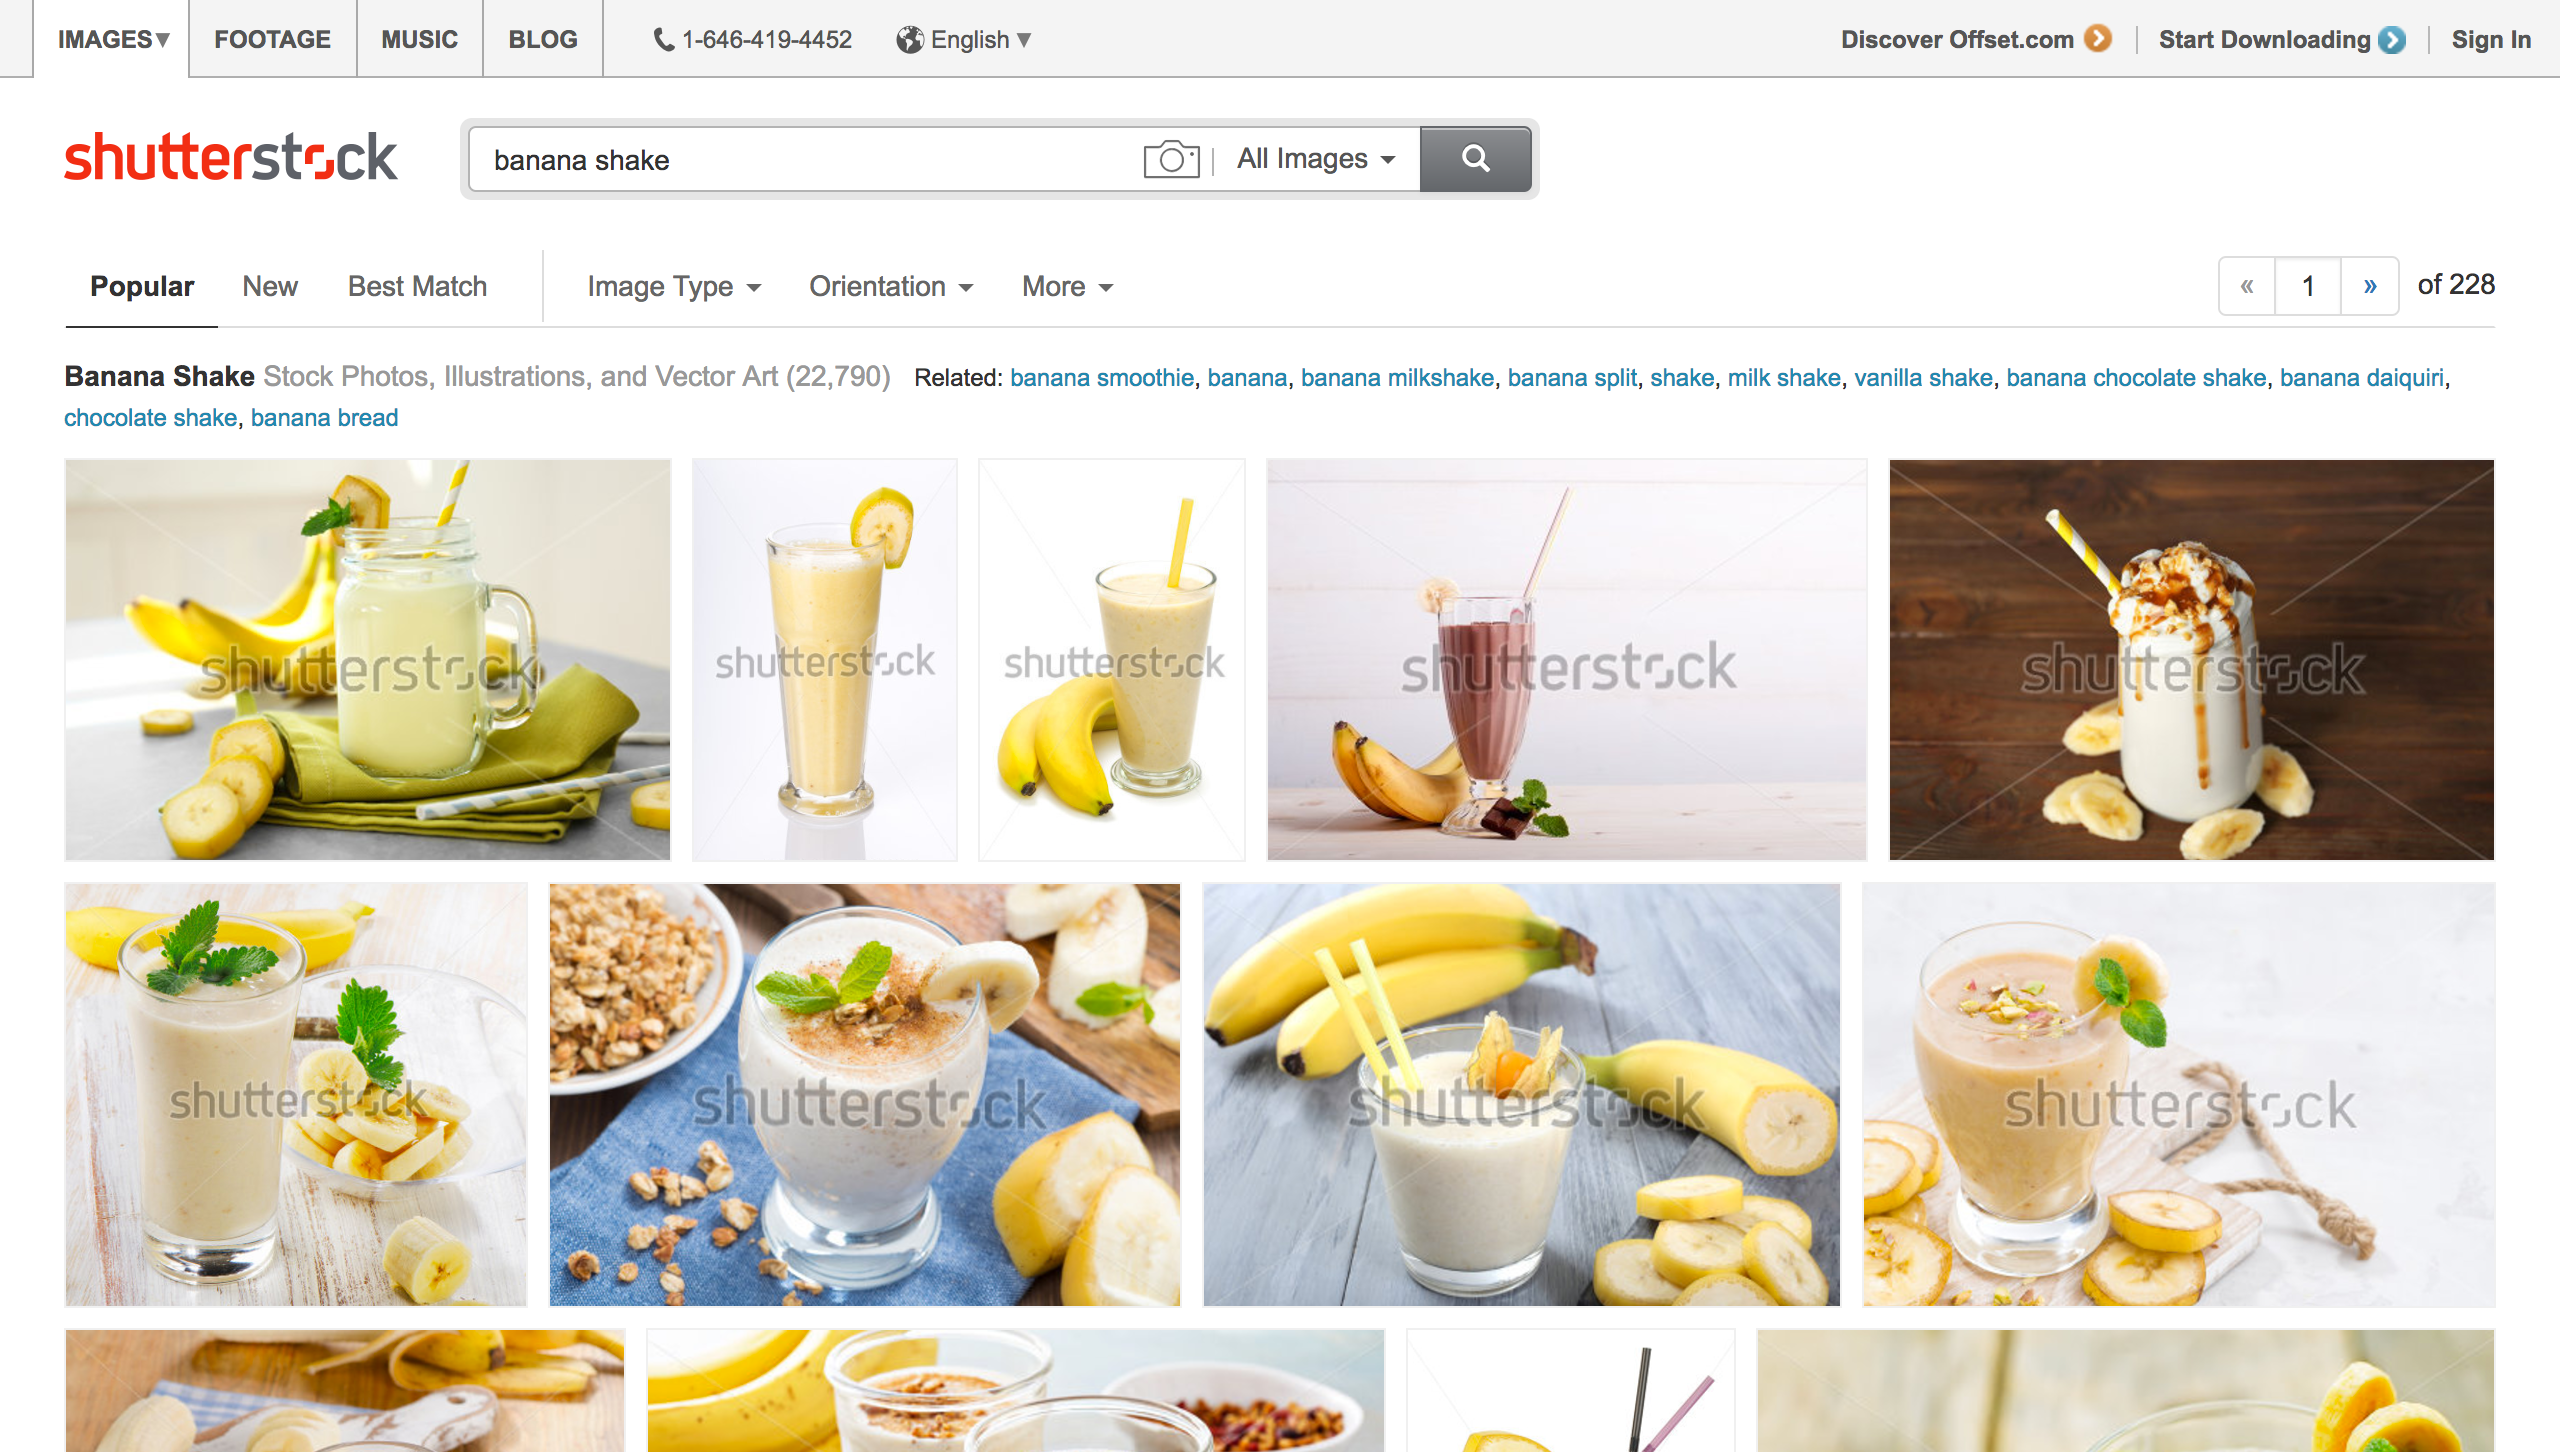
For me, it’s easiest to choose something from Adobe Stock or Shutterstock. When it comes to quality – nothing can beat a professional and paid stock imagery.
2. Add something to it
It’s popular to add some short, engaging captions onto images instead of writing a short text-only post. It attracts people which are scrolling through media feeds.
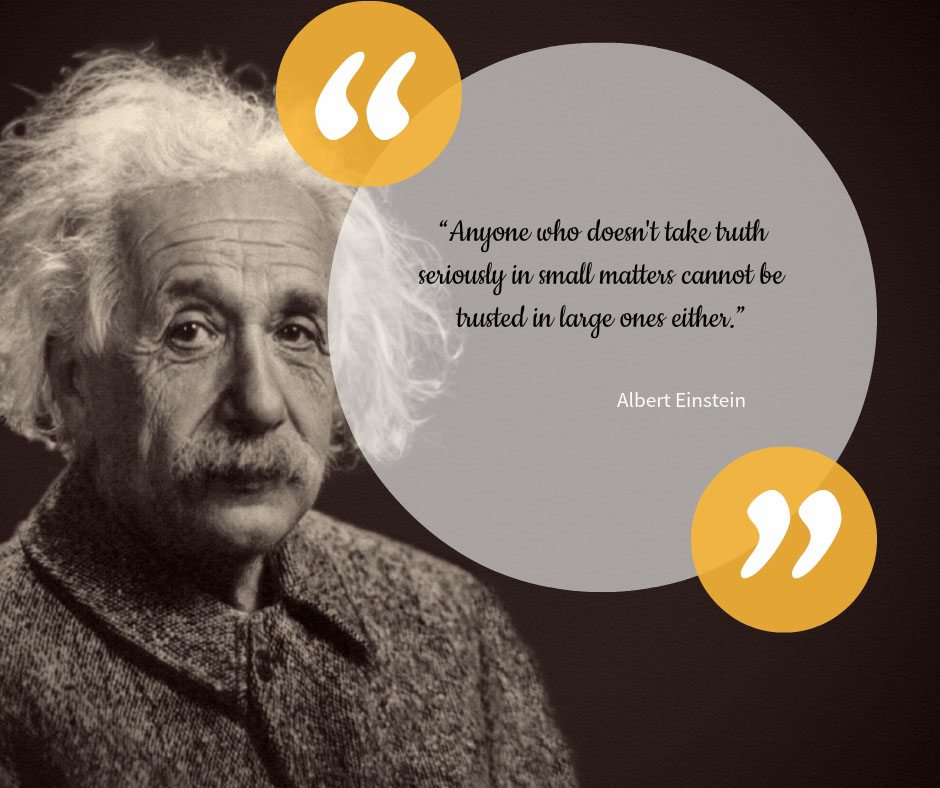
Try to be consistent with one style – if chosen photo and message is optimistic choose vibrant colours and funky font, but if You’re writing something melancholic – use dark palette and try to be minimalistic
If you don’t have a photo editor on computer it’s best to use an online one. BeFunky or Fotojet can be a good option for fast and easy photo captioning.
3. Save it in right size
When the composition is ready – the only thing left is to adjust it to the media You want to post it.
Every social media has their own different picture dimensions. If you want to know to what size images will be cropped, and how big the file can be maximally not to be compressed – check out this awesome cheat sheet for 2017 by Make a Website Hub
You will find there not only complete guide to finding a right size for photos and posts, but also downloadable placeholders of all popular image sizes. It’s simpler to just paste projects into them and prepare everything in Your favourite image editor.
When you have the right size and good quality material the only thing left is to post them on selected date and time via Postfity!
