Every marketing action needs to lead to something profitable in order to be considered as a successful one.
It doesn’t matter if you self-promote your small company, or work as a social media marketer – it’s good to have the information which ad or banner is bringing the most traffic to your website.
That’s where the campaign parameters should be used in our project.
WHAT ARE UTM TAGS/ URLs TRACKING PARAMETERS
Sometimes you might see when clicking on some link, that you have been redirected to the destination URL with some code added after the original link, starting with the “?” character.
Those set of words are the UTM parameters. They have been invented by Google an introduced in the Google Analytics predecessor Urchin.
Urchin Tracking Module (UTM – now you know why the name) parameters come in five variants which can be used in any order.
By adding campaign parameters to the destination URLs you use in your ad campaigns, you can collect information about the overall efficacy of those campaigns, and also understand where the campaigns are more effective.
For example, your Summer Sale campaign might be generating lots of revenue, but if you’re running the campaign in several different social apps, you want to know which of them is sending you the customers who generate the most revenue.
Or if you’re running different versions of the campaign via email, video ads, and in-app ads, you can compare the results to see where your marketing is most effective.
When a user clicks a referral link, the parameters you add are sent to Analytics, and the related data is available in the Campaigns reports in your Google Analytics.
5 URL BUILDER ARGUMENTS
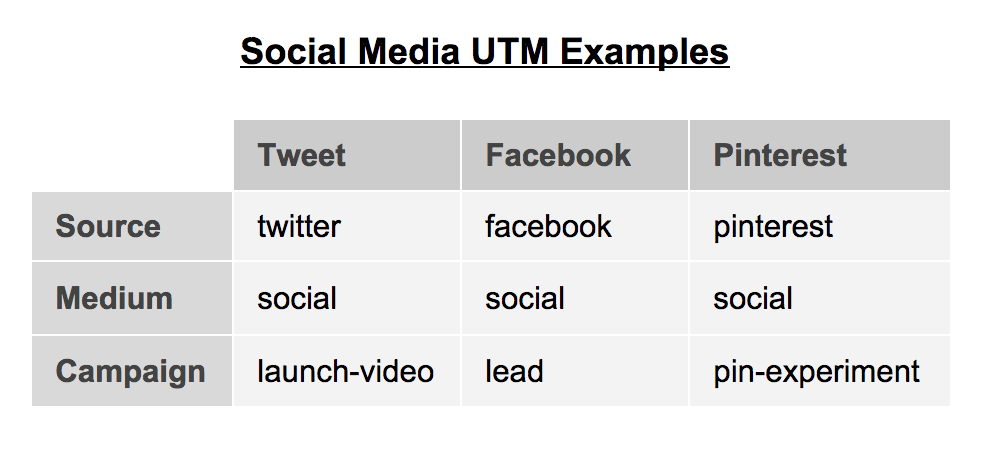
1.Source [utm_source]
The source parameter helps you identify the source of your link. It can be “Newsletter”, “Facebook”, or “www.websitewhichlinkstous.com”. This tag is mandatory to use, and if you will skip it in your link building, no results will appear in your analytics.
2.Medium [utm_medium]
The medium parameter is used to group your traffic by the route of delivery for the campaign. It can be “e-mail”, “Social Media”, or “CTA_button”. This tag is also mandatory to use.
3.Campaign [utm_campaign]
It’s your individual name for the marketing actions. Usually, you want to use this parameter to group all of the posts from for example “30% Birthday Sale”. By adding campaign tag you can later review the effects of all the traffic generated during this campaign actions.
4.Terms [utm_terms]
Used for paid search. Use utm_terms to note the keywords for this ad. For example: “tennis+ball”
5.Content [utm_content]
Usually, this parameter is used for the A/B testing purposes, or for determining which CTA/form is the most clickable one. You can put details about the content in this field. For example “bottom_CTA”.
HOW TO CREATE UTM LINKS?
Basically, there are 3 ways to generate links with UTM parameters attached to them.
First one is to create them manually, the second option is to use the Google dedicated link builder and make the process simpler, but third, and most intuitive one is to use some kind of automatization software which will add the UTM parameters for you.
Option 1 – Automate your UTM tagging
To automate the process of adding the UTM tags into your links you need some kind of social media manager, which will let you automatically convert the links you paste, add tracking parameters, and shorten them.
Postfity offers you this functionality, and can make tracking your conversion from social media a lot easier!
First of all, after signing up to the platform, you need to head to your account settings.
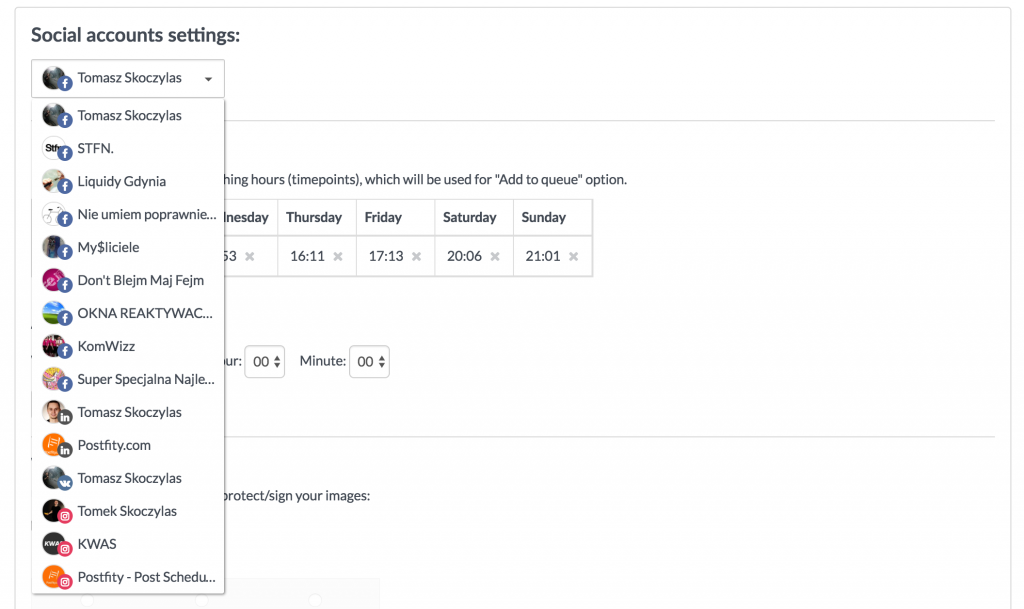
Then scroll down to the “Social accounts settings”.
You can see there a scroll-down list with all of your connected accounts.
All of the settings in this section are individual for each of your accounts.
Select the desired account.
I want to edit preferences for my business LinkedIn page for example.
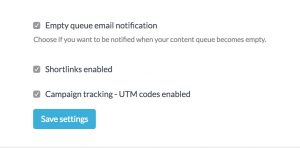
First of all make sure that you have checked the box near the “Campaign tracking” option underneath the account selection.
Then scroll down to the UTM section.
Our app will automatically propose you some parameters to use.
In this case, we recommend you to use “linkedin.company” as a source, “social” as a medium and “postfity” as a campaign – since you are publishing your stuff through our services.
If you want to stick with the proposed phrases – rewrite them into the text fields.
You can also change ever one from them to whatever you want.
Remember that the UTM tags will be different for every social media profile! We recommend you update that information after connecting all of your accounts.
Even when you will post the same link to different social media accounts – the UTM links will be adjusted to the ones selected for that accounts.
Option 2 – Google UTM link builder
You can use the Google tool for building the campaign links. You can find it on their developers tools for Analytics webpage.
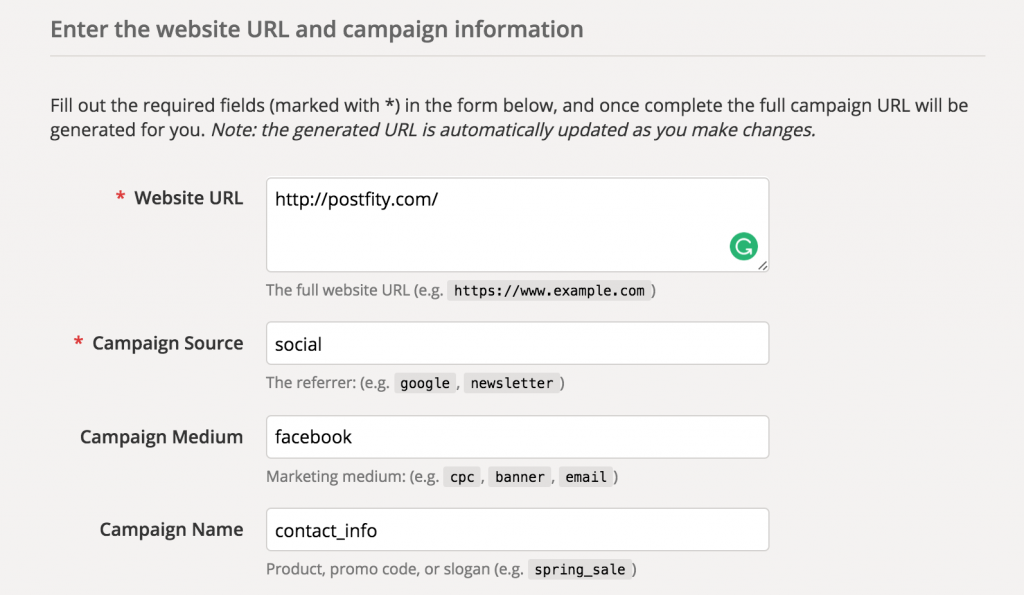
As you can see – the workflow is pretty simple and the tool allows you to enter each parameter separately.
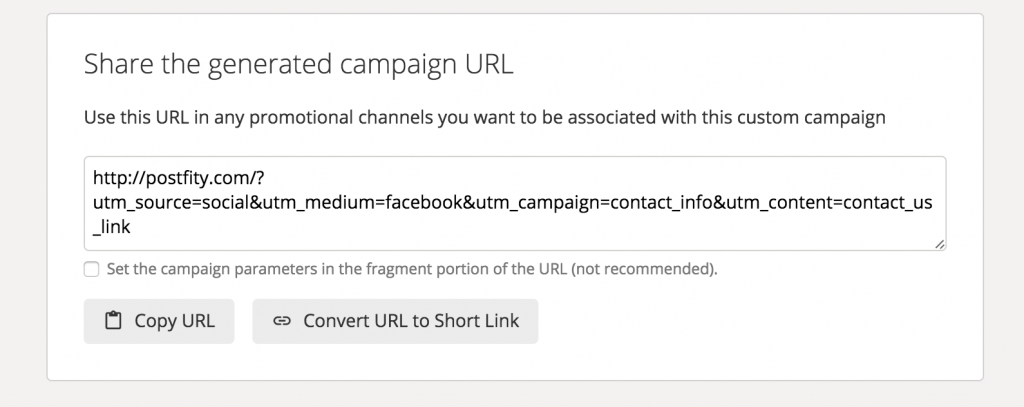
You will see your generated link at the bottom of the page, where you can instantly convert it to shortened goo.gl link, and copy it to your clipboard
Option 3 – Add the parameters manually
If for some reason you would like to create a link manually, you can!
You will just need to add “?” add the end of the URL and add parameters that you like into the link.
Every parameter needs to be separated from each other by “&” character.
Keep in mind that the [utm_source] and [utm_medium] are required parameters.
You can order them randomly, there is no need to keep the [utm_source] as a first one. Just remember your desired order for consistency.
